Wheat Halwa – Hacked
In the family I was born into, sugar tolerance is very high. As a friend put it a long time ago, “your family needs sugar as a side for desserts.” I was the only exception. “I just wish it was less sweet,” was my stock comment to my mother. Of course, then, everyone still ate standard sweets without ‘healthifying’ them. To date, I prefer all my traditional sweets made the same old traditional way without substitutions – I eat them less frequently and in far less quantities too but when I do, I like them the way they always were.
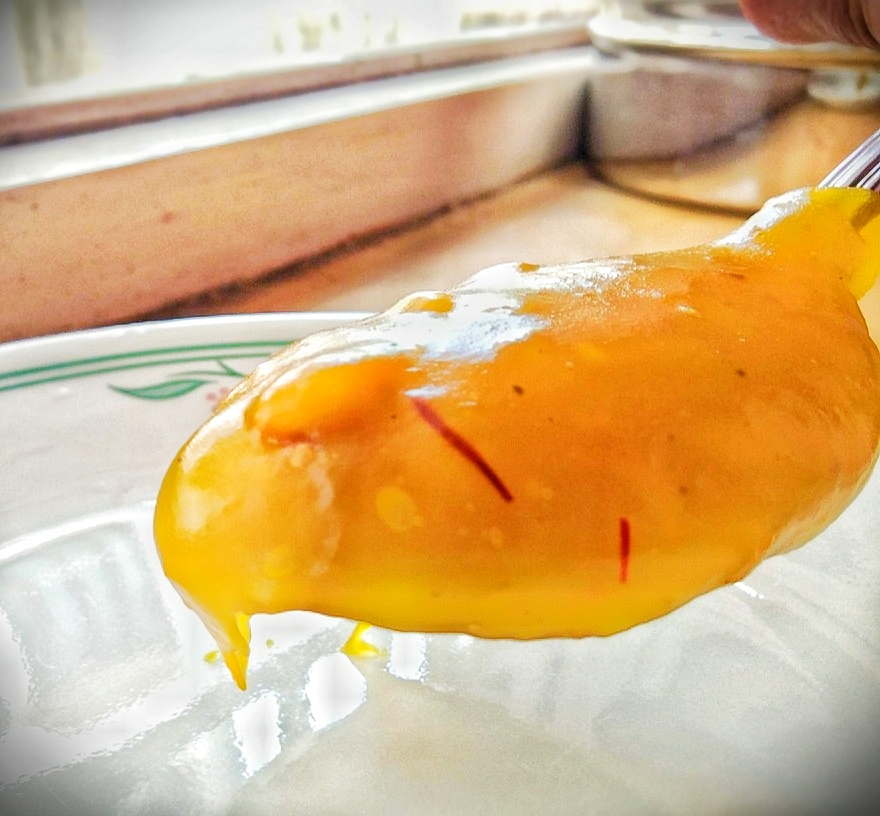
Wheat halwa was the one dessert that was perfect the way it was made for everyone else – it was not cloyingly sweet and I could dig in more than most other desserts. I also loved the pudding like, flubbery, silky smooth consistency, in the eye-catching translucent orange-red colour (thanks to food colouring, obviously).
As much as I liked this halwa, I rarely made it. I would always ask my mother to do so, blissfully unaware until years later, of the work needed to actually prepare it. Traditionally, it is prepared by soaking samba (red) wheat kernels for several hours or overnight, then grinding it, sieving the starchy, glutinous pulp out and repeating this process until you have extracted all the essence of the wheat and are left with nothing on the sieve but a fibrous mass. The sieve would end up getting clogged too, requiring poking the tiny holes with a pin later. It was just too much work.
Knowing my time constraints, my mother hit upon the idea of using maida (refined wheat flour aka all purpose flour – yes, all purpose has a few other added ingredients but not enough to make a difference). Brilliant. Absolutely brilliant. Maida, of course, is nothing but the meat of the wheat with none of the fibre. So, she proceeded to mix the maida in water and made it as always. I could not tell the difference at all from the original sieve clogging method – though I sometimes wonder if the halwa is a tad more transparent when made the more laborious way. I cannot be sure though.
A few months ago, I really craved wheat halwa. So, I called my mother, got her proportions and followed it to a T. Well, with one single change – I prefer not to use chemical food colouring (to the greatest extent possible) and so used more saffron which gave it a different colour – more on the side of turmeric yellow than orange, but still a very pleasant hue. Then, I made the halwa a second time, this time for a crowd between the ages of 20 to early 30 somethings (who really enjoyed it), reconfirming proportions and method to ensure I wrote it out correctly in a manner that can be replicated. This is that recipe.
Before I proceed, let me add that as much as my sugar saturation level is lower than my mother’s and my sibling’s, by today’s standards, it would still be on the higher side. (I do find it interesting that, for many, the sugar saturation is selectively only for Indian sweets which have a far worse rap than western ones. However, when I see how much sugar and butter go into frostings for cakes, I balk. Mysore Paak (perhaps the richest of all Indian sweets) is actually better for you AND you end up eating less of it. Anyway, if you feel you want less sugar, reduce sugar by a 1/2 cup, other things remaining equal. If you want even less sugar than that, you might as well eat something else! It would not be worth the trouble, and it could very well affect the consistency too.
For me, this halwa tastes excellent at all temperatures – out of the refrigerator (if eating cold, I would suggest not reducing sugar quantities as sweetness always appears milder at lower temperatures), at room temperature AND warm. If serving for others, I would suggest warming it. That fragrance of the ghee when warm is SO inviting.
This halwa will require continuous, uninterrupted stirring – so, NOT one to make when you are home alone and expecting the door bell to ring a gazillion times. Or on a day when someone at home is ill. Etc. You get the idea. That said, I think the trouble is very well worth it. An excellent sweet for the Deepavali melange too.
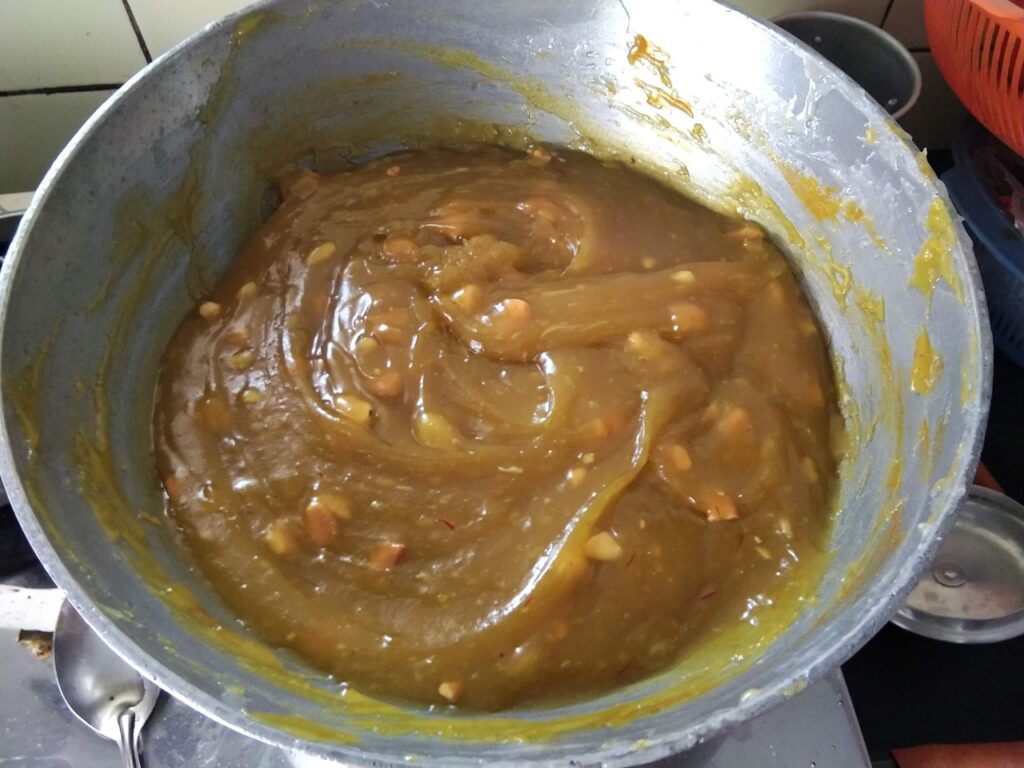
Most Indian recipes do not measure the water used for various purposes. This often makes the recipes out of whack for beginners. So, here, I ensured I measured the water too. For consistency at each stage, please refer to the photos attached – since the flour and heat source in each location is different, it makes it difficult to specify exact cooking times. Feel free to message me with any questions or queries.
My apologies for the ‘messy’ stove and countertop in the photos below. I tend to make desserts right after cooking the day’s main meal. And I detest cleaning multiple times. My thanks to my daughter who took most of the pictures and video since I was occupied stirring most of the time.
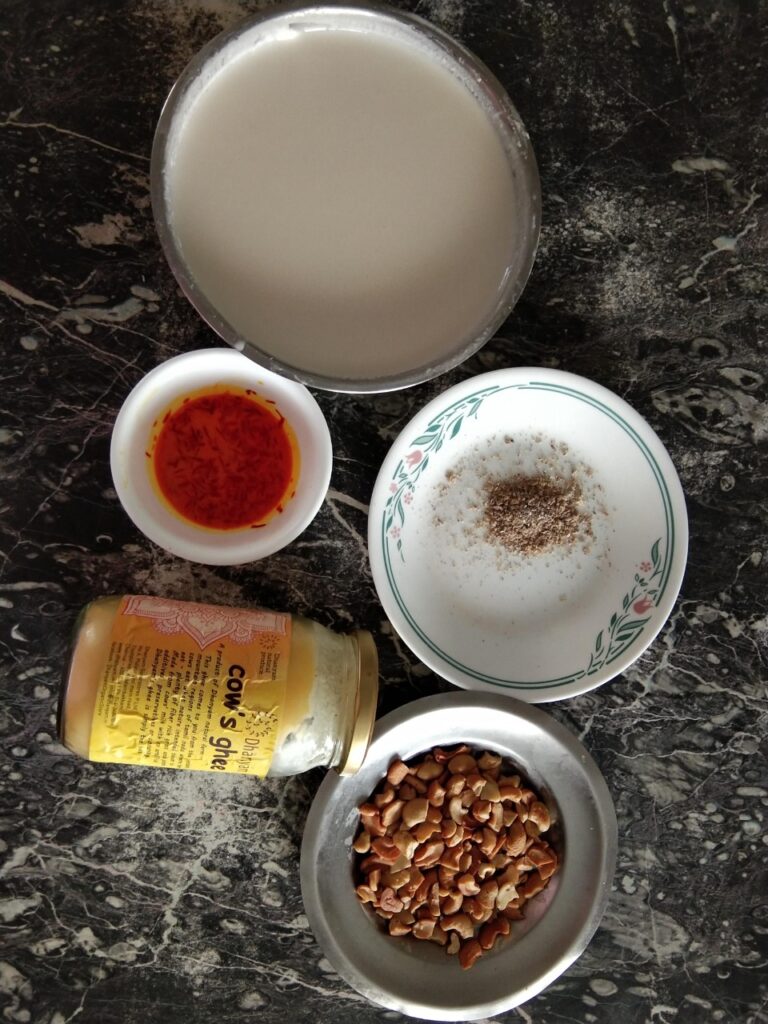
Ingredients:
Before I begin, I would strongly suggest you read the previous several paragraphs. It is particularly crucial if you are new, or not too experienced in cooking Indian sweets. They offer a lot of seemingly simple, but critical, suggestions that are key to making this recipe successful on the first try. Please also read the full recipe here carefully well before making so you know exactly what you need and the pre-prep required (some need a few hours of rest), before you actually start the process of cooking.
For slurry:
2 cups refined wheat flour aka all purpose flour aka maida (spooned loosely into cup – do NOT pack) – see details below on how to prepare.
2 ½ cups water
For sugar syrup:
3 ½ cups white granulated sugar
1 ½ cups water
Other ingredients:
Ghee – 1 ½ cups
½ tsp of saffron strands crushed between the fingers and soaked (ideally overnight) in 2 tbsp of milk (I would recommend Iranian or Spanish saffron – phenomenal colour and flavour)
¼ cup cashews fried in ghee until golden brown and chopped into small pieces.
½ tsp cardamom powder
Pinch powdered edible camphor – optional
Method:
Mix wheat flour with water. Do not worry about lumps – it will be much easier to get rid of them after soaking. Let it soak for three-four hours at room temperature or overnight in the refrigerator. Remove from refrigerator a couple of hours before ready to begin halwa preparation. Mix the slurry well again and remove all lumps.
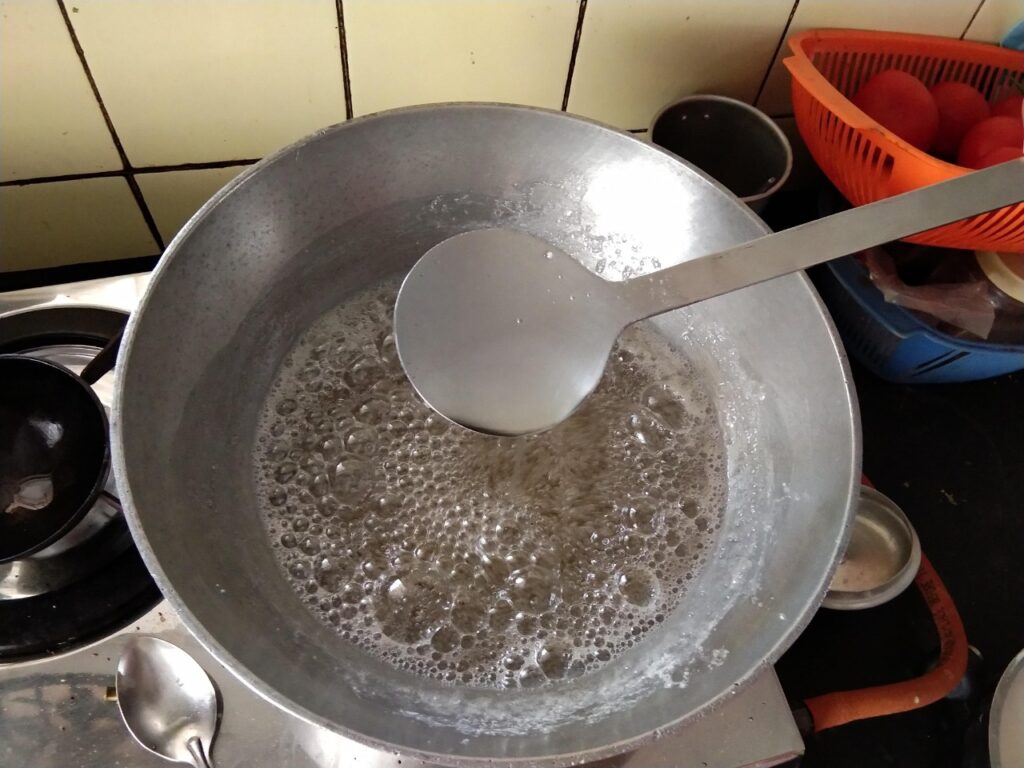
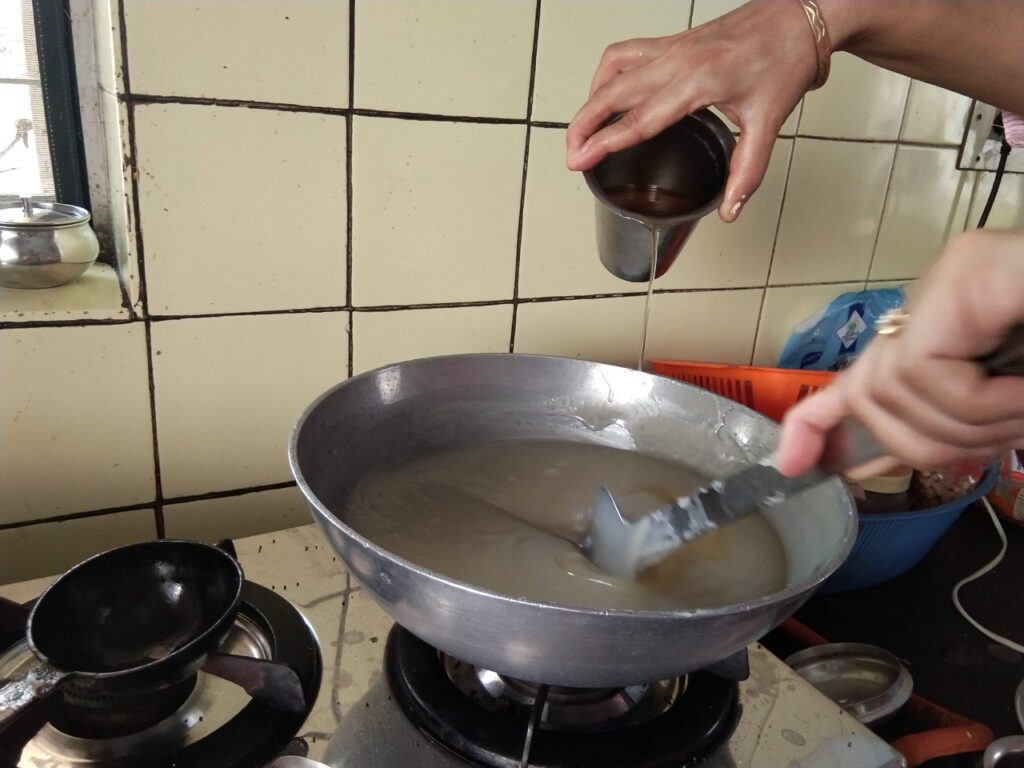
THIS IS VERY IMPORTANT: To cook, use a heavy bottomed pan (ideally aluminum or one with a three-ply sandwich bottom – the kadaai in the picture below (bought for me by my mother) is made of heavy aircraft-grade aluminum. Another excellent utensil is the base of an aluminum pressure cooker. Do NOT, on any account, use a copper-bottomed vessel. It conducts heat far too quickly and will result in uneven cooking and possibly lumps too. I would also strongly advise keeping a separate vessel for desserts alone – this kadaai below is one such dedicated pan. Those that have been used for savoury items, particularly spicy Indian foods, often impart that flavour into several subsequent dishes. Believe me. I have had garlic infused badam kheer.
On medium flame, put in water for sugar syrup and the sugar. Stir intermittently until the sugar has completely dissolved.
Add in a ladle of ghee. Mix. Now, lower the heat to the lowest possible setting. Pour in the wheat flour slurry SLOWLY with one hand as you are stirring with the other (see video below). It is very important that the stirring is done promptly and thoroughly at this stage or you will have lumps of batter that will not be nice to bite into in the finished halwa. Remember to scrape the bottom of the vessel thoroughly with each stir – or you will have the wheat sticking to the bottom and burning.
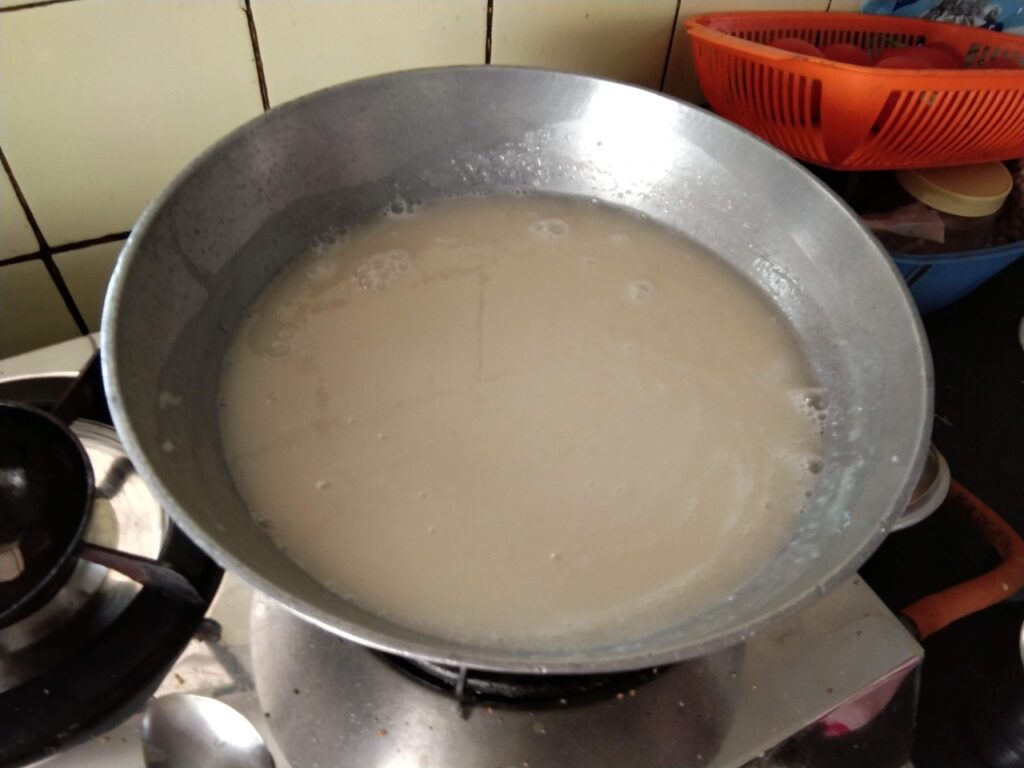
Once fully incorporated without lumps, increase heat to medium. Keep stirring continuously for 10-25 minutes until the mixture becomes significantly thicker and you can feel the extra effort needed to stir. Then, add in the ghee ladle by ladle, ensuring each one is incorporated fully, before pouring the next one.
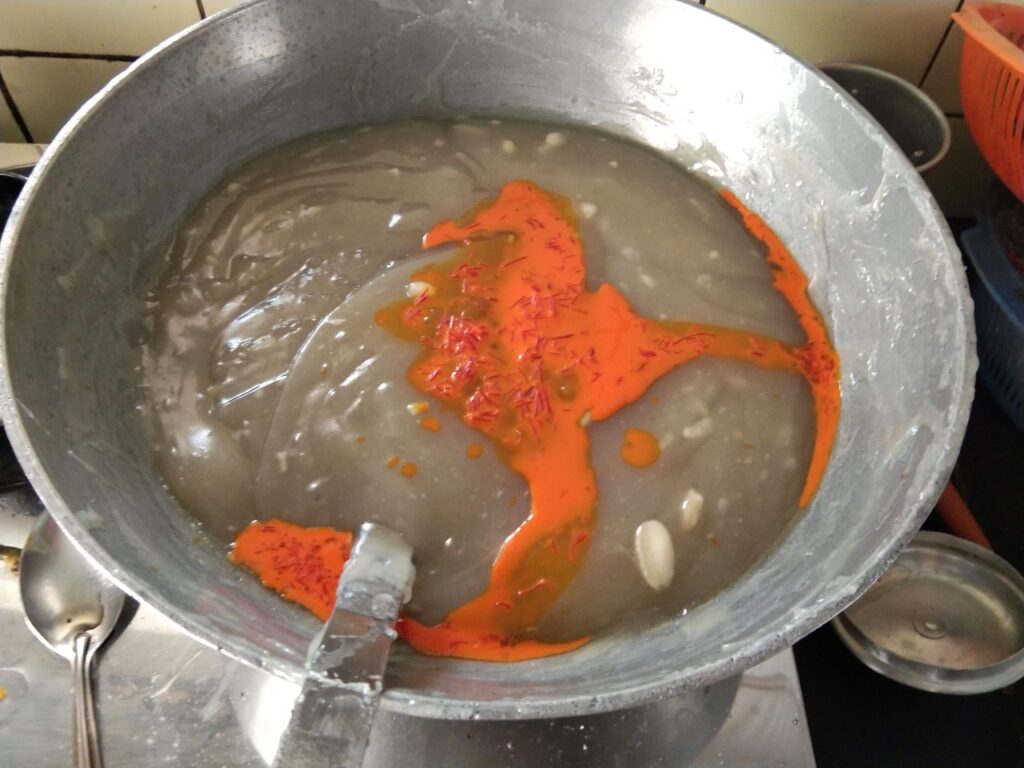
When most of the ghee is used up, add in the saffron mixture. This too is a change from my mother’s method. She would add the saffron initially itself. I found, though, that the saffron flavour is significantly enhanced when added towards the end.
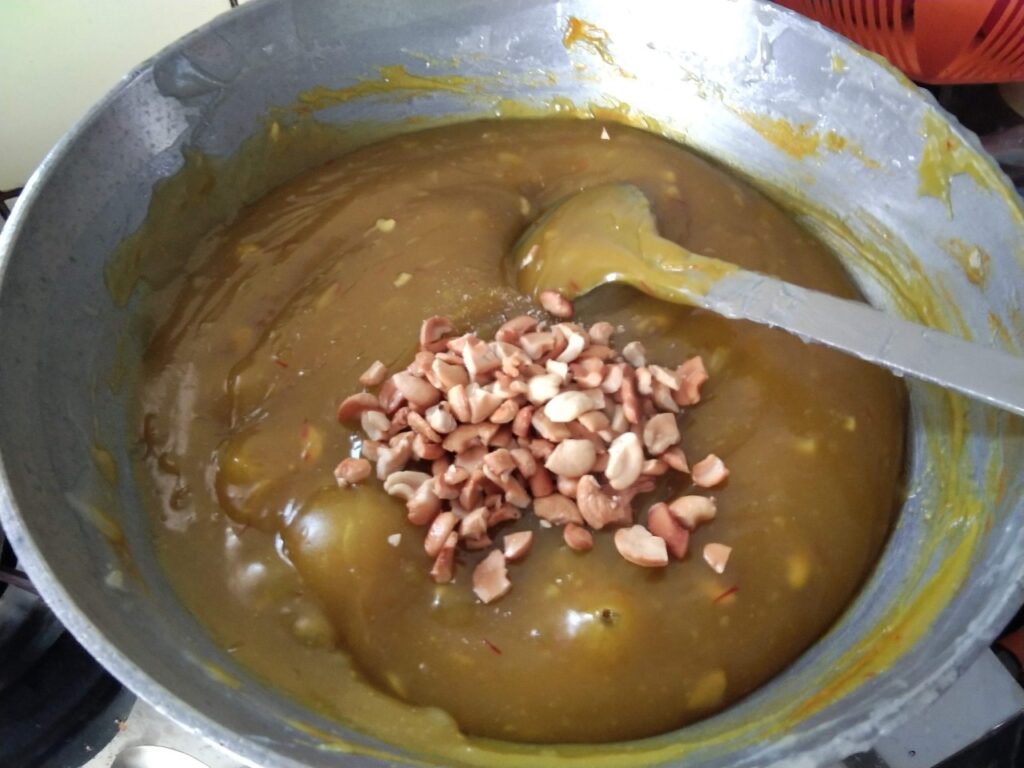
Add the rest of the ghee and stir. Test for consistency by putting in a tsp or so in a bowl of room temperature water and testing it with your fingers. If it feels of the right consistency, turn off the stove. Add in a tsp of ghee and put in the cardamom, camphor (if using) and the cashews over the ghee. Stir well to incorporate.
As mentioned earlier, this halwa, to me, tastes excellent at all temperatures – out of the refrigerator, at room temperature or warm. If eating cold, do not reduce sugar quantities.
Do make it and share your comments below on how you liked it and any issues you faced too. I take feedback seriously and work to improve method and directions further.
Related Posts:
Very well demonstrated. Thank you so much. Excellent step by step pics and directions. 🙏🙏
You are a veteran, Nirmala. If you make this, do post on how it worked out for you. Would love to know. Thank you.
Wow—only you can make a write up on wheat halwa as interesting as this. And amazing tidbits here about Indian sweets cooking a lot of which I had no idea about.
Thank you, Swami. Hope you try making it. When you do, please post on your experiences.